개발/Unity 내일배움캠프 TIL
유니티 포톤 (Photon) 셋업하기
석시
2023. 10. 12. 23:37

포톤 Import 하기
포톤은 기본적으로 Package Manager에서 제공해주는 것이 아니라 애셋스토어에서 Import를 해야한다.
PUN 2 - FREE
Get the PUN 2 - FREE package from Photon Engine and speed up your game development process. Find this & other Network options on the Unity Asset Store.
먼저 해당 링크에서 포톤을 내 프로젝트에 추가하자.
어플리케이션 아이디 가져오기
포톤을 Import하면 다음과 같은 창이 뜬다.
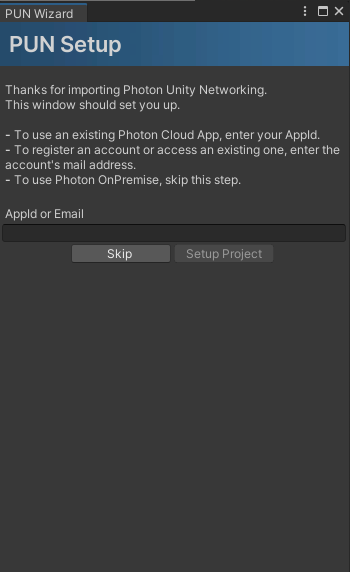
포톤 계정과 연결을 해줘야 한다.
포톤 사이트에서 가입을 해주자.
글로벌 크로스 플랫폼 실시간 게임 개발 | Photon Engine
Android, iOS, .NET, Mac OS, Unity 3D, Windows, Unreal Engine, HTML5을 위한 서비스로써의 글로벌 크로스 플랫폼 멀티플레이어 백엔드(SaaS、Cloud).
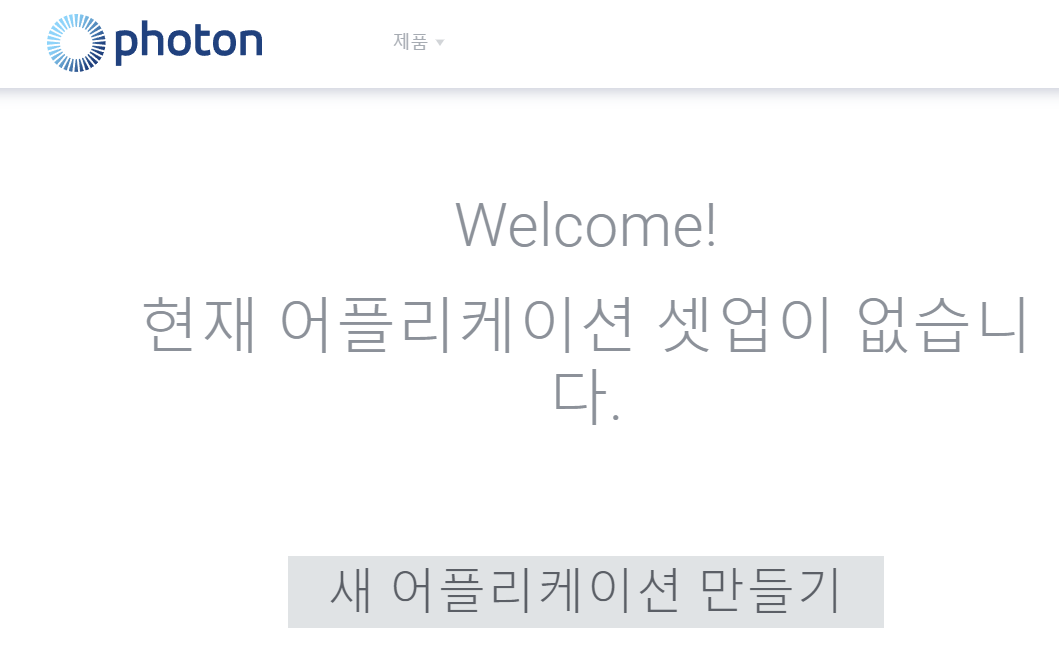
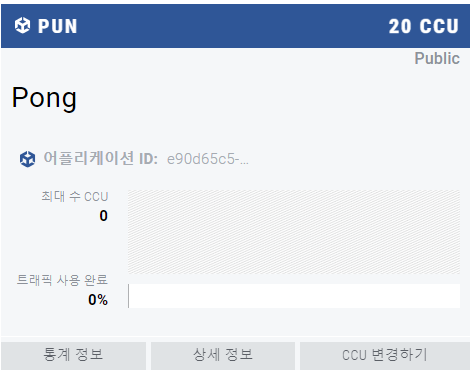
그 후 대쉬보드에 들어가면 새 어플리케이션을 만들 수 있다.
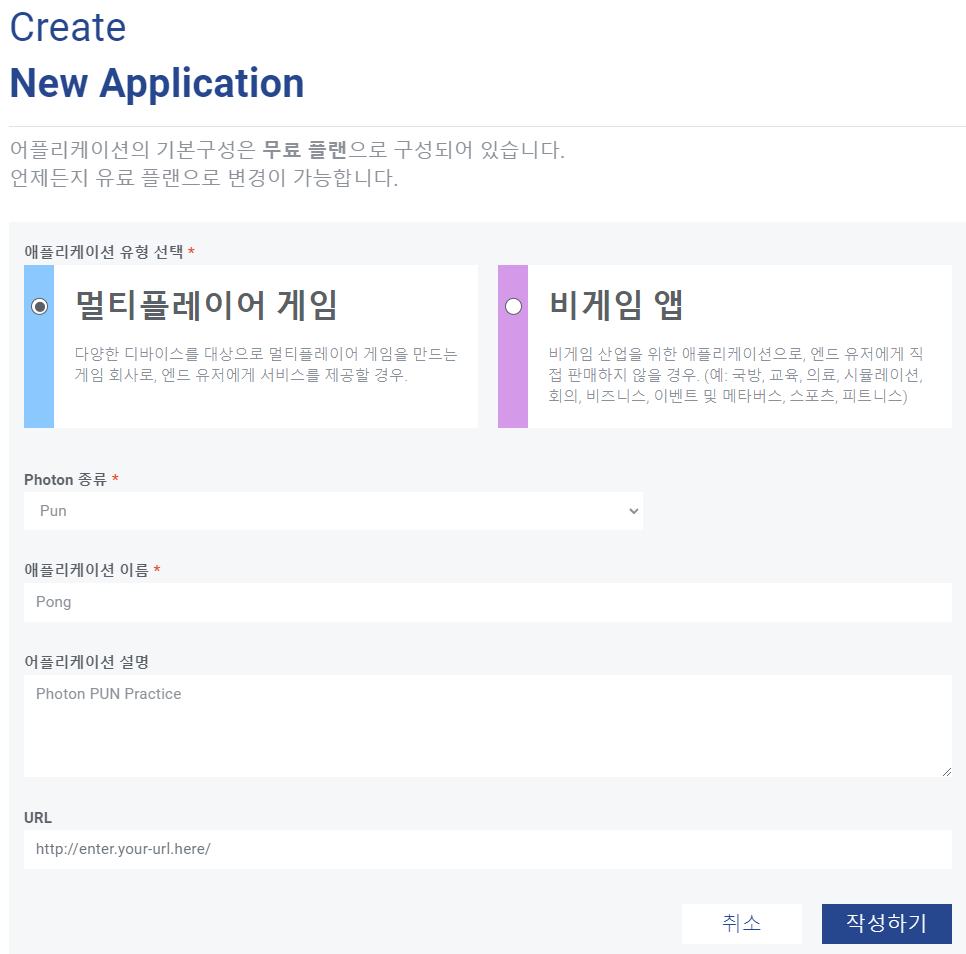
위와 같이 작성해주고 작성하기를 누르면, 어플리케이션이 생성되는데, 이 때 어플리케이션 ID를 복사하여 아까 유니티에서 봤던 Photon PUN Setup 창에 붙여넣어주자.
여기서 설정한 내용은 유니티 상단의 Window 탭 - Photon Unity Networking - PUN Wizard에서 확인이 가능하다.
Photon은 패키지 Import를 하면 어떻게 이용할지에 대한 데모 신들도 같이 Import되니 프로젝트를 만들 때 참고하도록 하자.
Uploaded by N2T